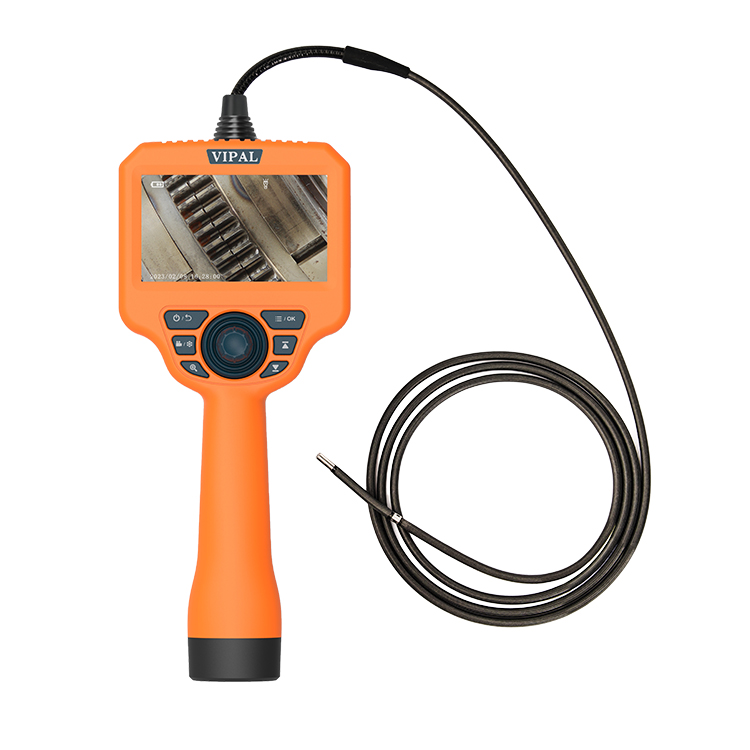

Pipe Inspection with an Industrial Borescope: A Practical Guide
Category: News-
On: 2026-09-09
Industrial pipes, process lines, fluid channels, and other enclosed structures can be difficult to inspect from the outside. Corrosion, cracks, deposits, blockages, weld irregularities, and foreign objects may develop inside the pipe while remaining invisible during a conventional external inspection.
Disassembling equipment or cutting open a pipe can be expensive, time-consuming, and disruptive to maintenance operations.
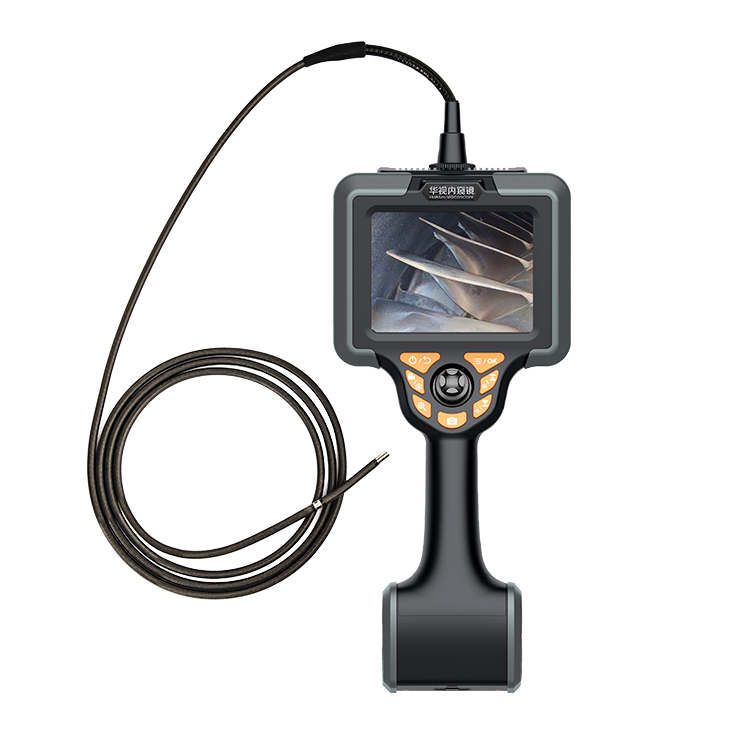
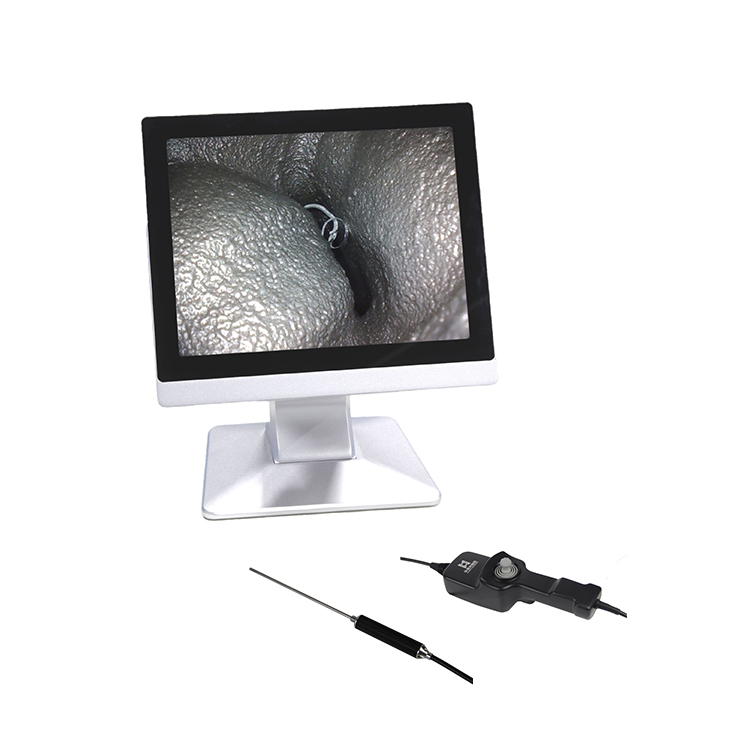
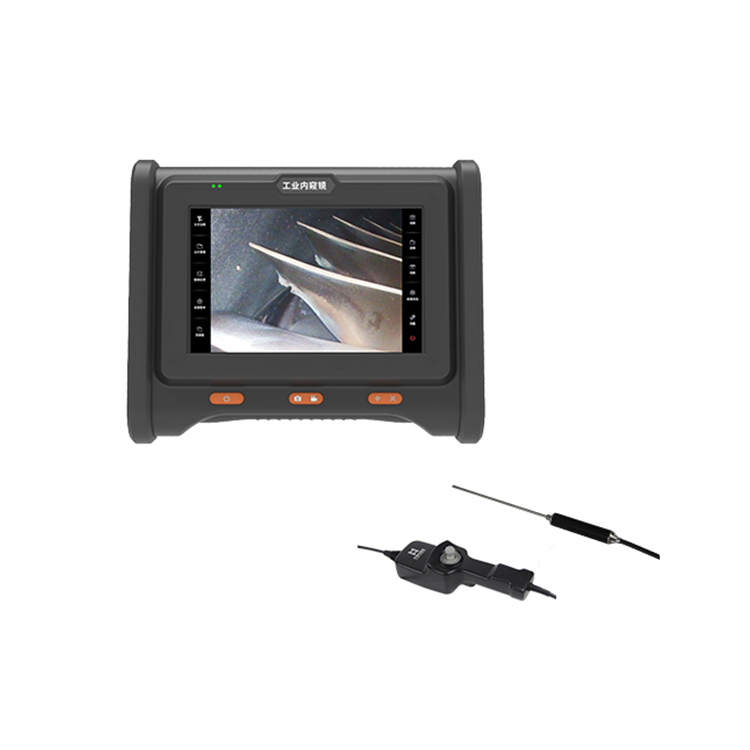
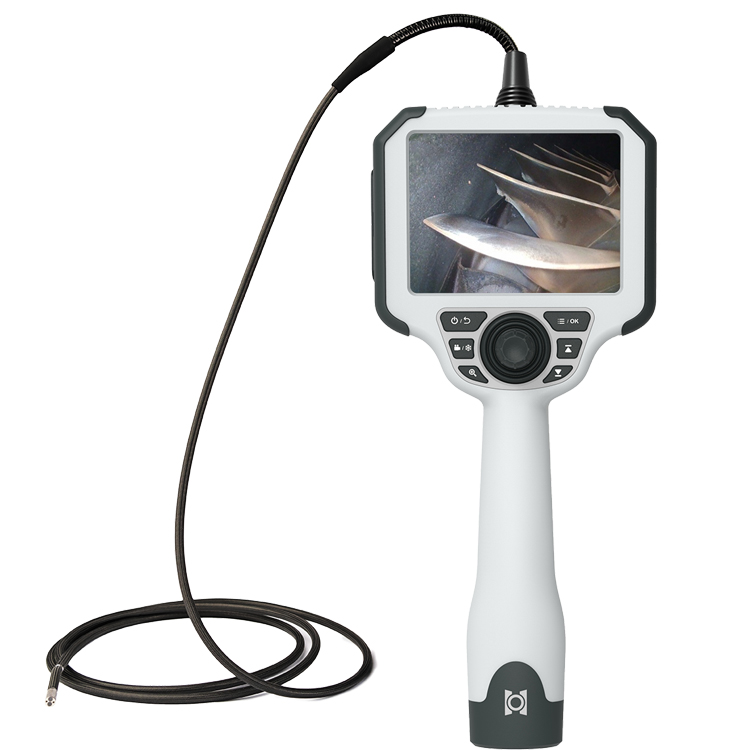
A pipe inspection borescope provides a practical Remote Visual Inspection (RVI) solution. A flexible industrial videoscope can be inserted through an access port, pipe opening, inspection hole, or other suitable entry point to examine accessible internal surfaces in real time.
Depending on the pipe geometry and inspection requirements, different probe diameters, lengths, articulation systems, and viewing directions can be selected.
The key is not simply to choose the longest or smallest borescope. The system should be matched to the actual inspection path, access opening, internal geometry, and required image quality.
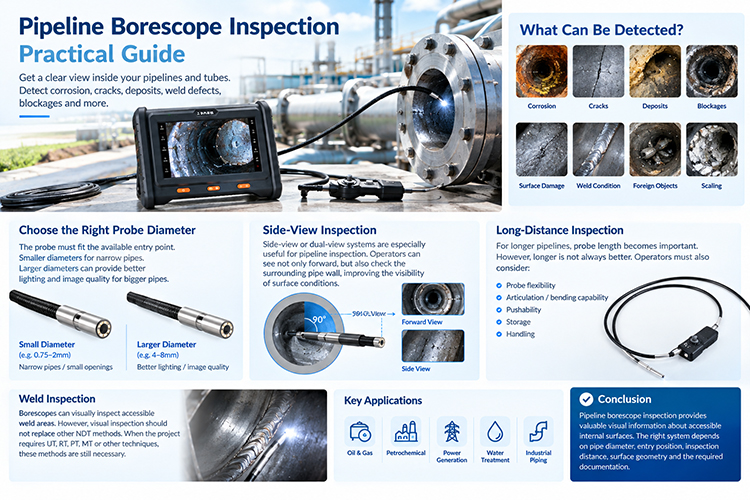
1. What Can an Industrial Borescope Detect Inside Pipes?
An industrial borescope is primarily used to visually inspect accessible internal surfaces and visible conditions.
Typical findings include:
Internal Corrosion and Rust
A borescope can help identify visible signs of:
Surface corrosion
Rust and oxidation
Corrosion products
Localized pitting indications
Flaking or scale
Surface deterioration
For applications where actual wall thickness needs to be quantified, additional inspection methods such as ultrasonic testing may be required.
Cracks and Surface Damage
A videoscope can provide visual evidence of:
Visible surface cracks
Scratches
Mechanical damage
Impact marks
Surface deformation
Localized damage
Very small cracks may require appropriate optics, lighting, image resolution, and inspection procedures to be reliably identified.
Deposits, Scale, and Oil Contamination
Internal deposits can reduce the effective flow area of a pipe.
A borescope can help inspect:
Scale
Oil sludge
Sediment
Process residue
Dirt and debris
Other deposits
This information can help maintenance teams determine whether cleaning or further investigation is required.
Blockages and Foreign Objects
A pipe inspection camera can also help locate:
Partial blockages
Complete obstructions
Foreign objects
Construction debris
Metal fragments
Loose components
Accumulated materials
The camera provides a visual indication of the blockage location and its general condition, helping maintenance personnel plan the next step.
Internal Weld Conditions
Pipe weld inspection is another important application.
Depending on accessibility and viewing direction, a videoscope may be used to visually examine:
Weld bead appearance
Surface cracks
Porosity indications
Undercut or irregular weld profiles
Weld spatter
Visible inclusions or residue
Corrosion around weld areas
However, a borescope should be considered a visual inspection tool, not a replacement for qualified NDT methods when volumetric or subsurface inspection is required.
2. How to Choose the Right Borescope Probe Diameter for Pipe Inspection
Probe diameter is one of the most important specifications when selecting a pipe inspection borescope.
The probe must physically enter the available access opening while still providing the imaging, illumination, articulation, and durability required for the inspection.
Small-Diameter Pipes
Small process lines, hydraulic pipes, precision tubing, and restricted internal passages may require small-diameter probes.
Common configurations may include:
1.2 mm borescope
2 mm borescope
4 mm borescope
Smaller probes can provide access through restricted openings, but reducing probe diameter may also introduce trade-offs involving camera size, illumination, mechanical robustness, articulation, and image performance.
Therefore, the smallest available probe is not automatically the best choice.
Practical Rule
Choose the smallest practical probe diameter that can enter the inspection area while still delivering the required image quality, lighting, maneuverability, and durability.
3. Medium and Large Industrial Pipes
For larger industrial pipelines and process lines, there may be enough access space to use a larger-diameter videoscope.
A larger probe can provide design advantages depending on the system, such as:
Larger imaging components
More illumination capability
Greater mechanical robustness
Better pushability in certain configurations
Improved durability for frequent industrial use
Applications may include:
Process piping
Industrial fluid lines
Heat exchanger passages
Large machinery channels
Boiler and power equipment piping
Industrial vessels and connected pipework
The correct probe diameter should always be determined by the actual access geometry and the manufacturer's specifications.
4. Why Side-View and Dual-View Borescopes Are Useful for Pipe Inspection
One of the most important considerations in pipe inspection is the viewing direction.
A conventional forward-view borescope looks primarily toward the end of the probe.
This is useful for navigating deeper into a pipe, but it may not provide the most efficient view of the surrounding pipe wall.
A side-view borescope looks approximately 90° relative to the insertion direction, depending on the optical design.
This makes it particularly useful for inspecting internal surfaces around the circumference of a pipe.
Side-View Inspection
A side-view configuration can help inspect:
Pipe walls
Internal corrosion
Deposits
Weld areas
Surface scratches
Internal scale
Localized damage
Dual-View Inspection
A dual-view borescope combines forward and side viewing in one inspection system.
A typical configuration may provide:
Forward View → 0°
Side View → 90°
This allows the operator to switch between looking ahead and examining the surrounding pipe wall.
However, dual-view does not necessarily mean that every system uses two separate cameras. Different products may use different optical or camera configurations.
For complex pipe inspections, dual-view capability can reduce the need to repeatedly reposition or withdraw the probe.
5. Long-Distance Pipe Inspection: Probe Length and Handling
Long pipelines present a different challenge.
A longer probe can provide greater reach, but longer is not automatically better.
A very long probe may become more difficult to push, guide, retrieve, and manage, particularly when the pipe contains multiple bends, diameter changes, or internal obstructions.
When selecting a long-distance industrial borescope, consider five key factors.
1. Probe Length
Select a length based on the actual inspection depth and pipe configuration.
Typical configurations may include:
1 m
2 m
5 m
10 m
20 m
The appropriate length depends on the inspection task.
2. Probe Flexibility
The probe should provide an appropriate balance between flexibility and pushability.
A very flexible probe may navigate bends well but can become difficult to push over long distances.
A stiffer probe may provide better pushability but may be less suitable for highly curved pipe paths.
3. Articulation
An articulating probe can provide additional directional control near the inspection target.
For complex inspection paths, 4-way articulation can provide up/down/left/right tip control, depending on the system design.
This is particularly useful when the operator needs to position the camera toward a specific section of the pipe wall.
4. Pushability
For long-distance inspection, the ability to smoothly advance the probe is critical.
Probe construction, stiffness, friction, pipe geometry, and internal obstructions can all affect pushability.
5. Storage and Portability
Long probes require more careful handling and storage.
A practical inspection system should consider:
Probe reel or storage method
Transport requirements
Field setup
Cleaning
Probe protection
Operator ergonomics
Key Principle
Probe length provides reach; articulation provides directional control.
Both should be evaluated together.
6. Pipe Weld Inspection with an Industrial Videoscope
Internal weld inspection is a common application for industrial videoscopes.
Depending on the pipe design and access point, an inspection camera can be inserted through the pipe opening to visually examine internal weld surfaces.
A suitable system may help identify visible indications such as:
Irregular weld profiles
Surface cracks
Porosity indications
Undercut
Weld spatter
Surface contamination
Corrosion near the weld
Mechanical damage
Side-view or dual-view systems can be particularly useful when the inspection target is located around the pipe wall rather than directly in front of the probe.
Important NDT Limitation
A borescope provides visual testing (VT) of accessible surfaces.
It cannot replace other NDT methods when the inspection specification requires detection of subsurface or volumetric defects.
Depending on the application, additional methods may include:
UT — Ultrasonic Testing
RT — Radiographic Testing
PT — Liquid Penetrant Testing
MT — Magnetic Particle Testing
The appropriate inspection method should be determined by the applicable standard, maintenance procedure, engineering requirements, and acceptance criteria.
7. Image Recording and Inspection Documentation
Modern industrial videoscopes are not only inspection cameras. They can also provide digital inspection records.
Depending on the system, operators may be able to:
Capture still images
Record inspection videos
Add annotations
Save inspection data
Transfer files
Compare inspection results
Create inspection documentation
This can be useful for:
Maintenance Records
Document the condition of a pipe before and after maintenance.
Quality Inspection
Provide visual evidence during manufacturing and assembly inspection.
Engineering Acceptance
Support inspection records during project delivery or equipment acceptance.
Defect Tracking
Compare the same inspection area over time to monitor changes.
Traceability
Associate images and videos with equipment numbers, inspection dates, locations, or maintenance records.
8. Typical Pipe Inspection Workflow
A practical pipe borescope inspection can follow a structured process.
Step 1: Define the Inspection Target
Determine:
Pipe diameter
Access opening
Inspection length
Number of bends
Expected defects
Environmental conditions
Step 2: Select the Probe
Choose the appropriate:
Probe diameter
Probe length
Articulation
Viewing direction
Camera resolution
Illumination
Step 3: Check the Equipment
Before insertion, inspect:
Camera tip
Probe sheath
Articulation function
Lighting
Display
Battery
Storage capacity
Step 4: Insert the Probe
Insert the probe carefully through the appropriate access point.
Avoid excessive force, especially when passing through bends or narrow sections.
Step 5: Navigate and Inspect
Advance the probe while monitoring the live image.
Use articulation where available to position the camera toward the inspection target.
Step 6: Inspect the Pipe Wall
Use forward and/or side viewing to examine accessible internal surfaces.
Pay particular attention to:
Welds
Corrosion
Deposits
Cracks
Damage
Blockages
Foreign objects
Step 7: Record Evidence
Capture images or video of relevant findings.
Where the system supports it, add annotations and inspection information.
Step 8: Evaluate and Report
Compare findings with the applicable inspection criteria and determine whether additional NDT or maintenance action is required.
9. How to Select a Pipe Inspection Borescope
| Requirement | Recommended Consideration |
|---|---|
| Small access opening | Small-diameter borescope |
| Complex pipe path | Flexible probe with articulation |
| Pipe wall inspection | Side-view borescope |
| Forward + wall inspection | Dual-view borescope |
| Long inspection distance | Long-distance borescope |
| Weld inspection | Side-view or dual-view configuration |
| Detailed visual inspection | Appropriate camera resolution and optics |
| Frequent field use | Durable probe and ergonomic controls |
| Inspection documentation | Photo/video recording and data storage |
| Quantitative defect measurement | Measurement borescope, when appropriate |
There is no single configuration that is ideal for every pipe inspection application.
The best system depends on the combination of pipe diameter, access opening, inspection distance, geometry, target location, environmental conditions, and inspection criteria.
10. Common Mistakes When Choosing a Pipe Inspection Camera
Mistake 1: Choosing the Smallest Probe Automatically
Smaller diameter improves access, but may involve compromises in imaging, illumination, articulation, and mechanical durability.
Mistake 2: Choosing the Longest Probe Available
A probe that is unnecessarily long may be harder to control and store.
Choose enough length to reach the target reliably.
Mistake 3: Looking Only at Camera Resolution
Higher pixel count does not automatically mean better inspection images.
Image quality also depends on:
Sensor
Optics
Illumination
Working distance
Image processing
Display
Probe diameter
Mistake 4: Using Only Forward View for Pipe Wall Inspection
Forward view is excellent for navigation and looking ahead, but side-view or dual-view can be more suitable when the primary target is the surrounding pipe wall.
Mistake 5: Treating Borescope Inspection as a Replacement for All NDT
A borescope is primarily a visual inspection tool.
If a standard requires ultrasonic, radiographic, magnetic particle, penetrant, or another NDT method, that method should still be performed.
Pipe Inspection Borescope: Selection Checklist
Before purchasing an industrial videoscope for pipe inspection, confirm:
☐ Probe diameter matches the access opening
☐ Probe length reaches the inspection area
☐ Probe flexibility matches the pipe geometry
☐ Articulation is sufficient for the inspection path
☐ Forward, side, or dual viewing matches the target
☐ Illumination is adequate for the internal environment
☐ Camera and optical performance meet inspection requirements
☐ Probe and main unit environmental ratings are suitable
☐ Photo and video recording are available if required
☐ Storage and data transfer meet documentation needs
☐ Measurement capability is available if quantitative inspection is required
☐ Supplier can provide technical support and replacement probes
WorldNDT Industrial Borescope Solutions
WorldNDT provides industrial borescope and videoscope solutions for internal visual inspection of pipes, process lines, machinery, engines, gearboxes, castings, welds, and other hard-to-reach areas.
Depending on the application, inspection configurations can be selected based on:
Small probe diameter
Long probe length
4-way articulation
Forward view
Side view
Dual view
High-resolution imaging
Image and video recording
Measurement capability
Customized inspection requirements
For pipe inspection projects, the recommended configuration should be based on the actual pipe diameter, access point, inspection distance, internal geometry, and target defects.
FAQ: Pipe Inspection with an Industrial Borescope
Q1: Is a side-view borescope required for pipe inspection?
Not always.
Forward-view borescopes are useful for navigation and inspecting areas directly ahead of the camera. Side-view or dual-view systems can be more effective when the main inspection target is the surrounding pipe wall.
Q2: Is a longer borescope always better for long pipes?
No.
The probe should be long enough to reach the inspection target, while maintaining practical pushability, flexibility, control, and storage.
Q3: Can a borescope replace ultrasonic or radiographic pipe inspection?
No.
A borescope primarily performs visual inspection of accessible surfaces. UT, RT, PT, MT, or other NDT methods may still be required when specified by the applicable inspection procedure or standard.
Q4: What diameter borescope is suitable for small pipes?
The answer depends on the available access opening and internal geometry.
Small-diameter configurations such as 1.2 mm, 2 mm, and 4 mm may be suitable for restricted access applications, but the actual probe should be selected according to the manufacturer's specifications and the inspection requirements.
Q5: Can an industrial borescope locate a pipe blockage?
Yes.
A videoscope can help identify the approximate location and visual condition of a blockage, sediment accumulation, or foreign object, provided the camera can reach the relevant area.
Q6: Can a borescope measure pipe corrosion?
A standard borescope can visually document corrosion and surface deterioration.
If actual wall thickness or material loss must be quantitatively measured, a suitable measurement system or another NDT method such as ultrasonic testing may be required.
Conclusion
A pipe inspection borescope provides a practical way to visually examine accessible internal surfaces without unnecessarily dismantling equipment or opening the pipe.
The most important factors are not simply camera resolution or probe length. Effective pipe inspection depends on matching the complete system to the application:
Probe Diameter + Probe Length + Articulation + Viewing Direction + Illumination + Image Quality + Documentation
For restricted openings, small-diameter probes can improve access. For long pipelines, probe length and pushability become critical. For pipe-wall and weld inspection, side-view or dual-view configurations can provide useful viewing options. For complex paths, articulation can improve camera positioning.
When quantitative or subsurface defect evaluation is required, borescope inspection should be combined with the appropriate NDT method rather than treated as a replacement.
With the right configuration, an industrial videoscope can become an effective tool for pipe maintenance, troubleshooting, quality inspection, weld visual inspection, and condition assessment.